Feb 132014
 

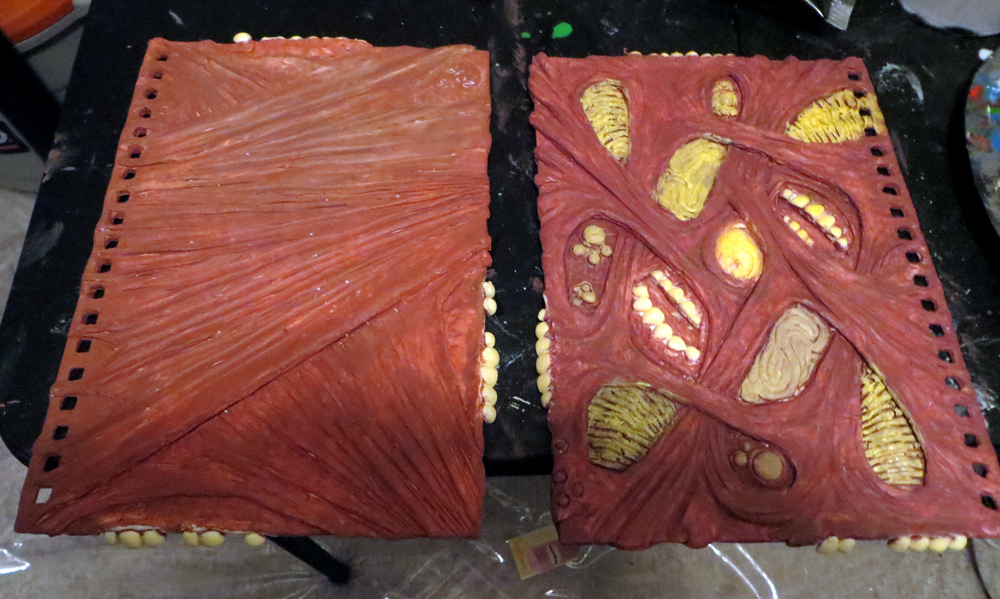
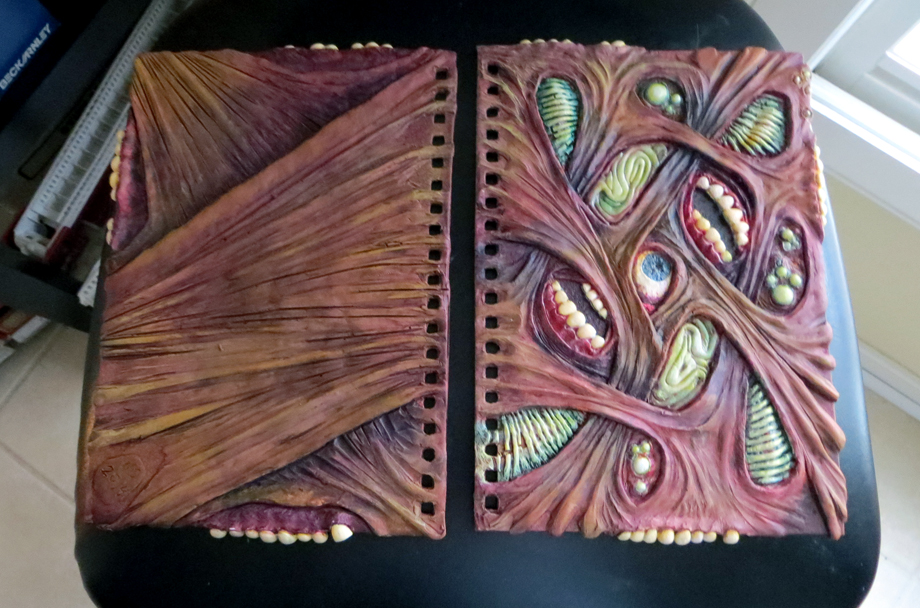
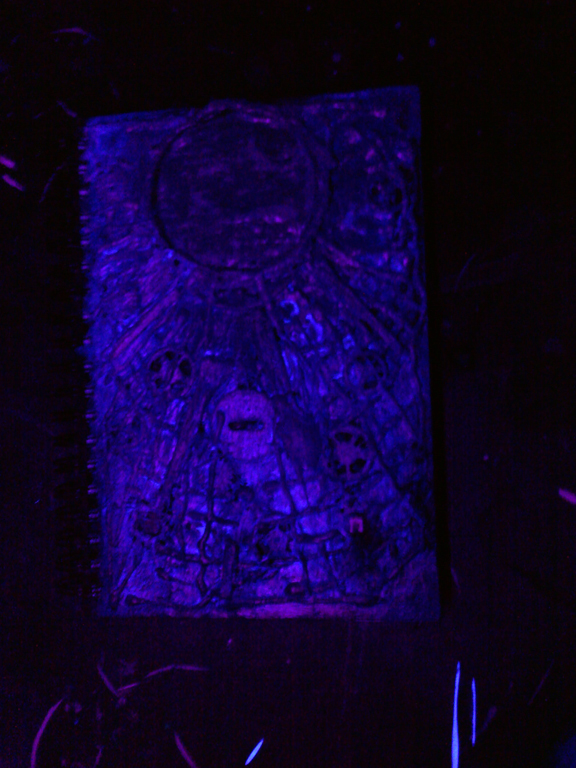
Here’s my new sketchbook cover for this year! I tried out some mold-making and casting, for a change. I like the way it turned out!

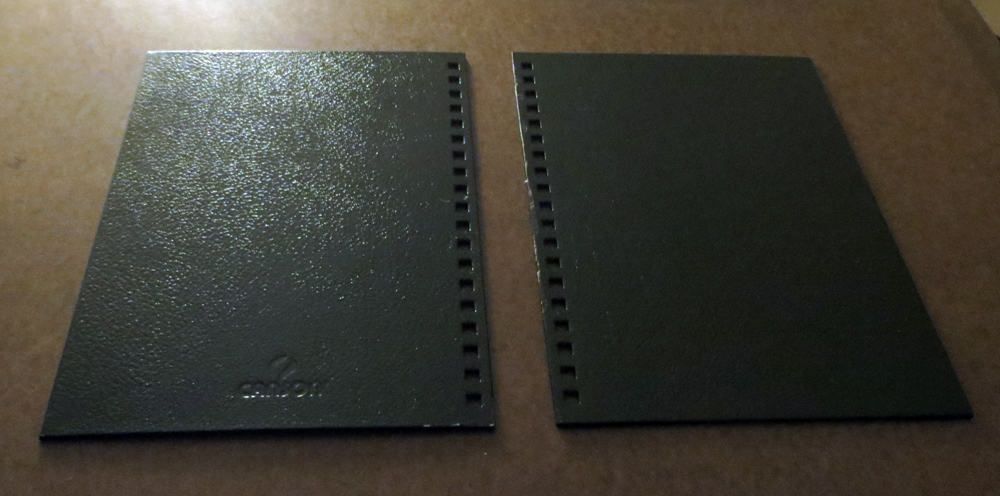
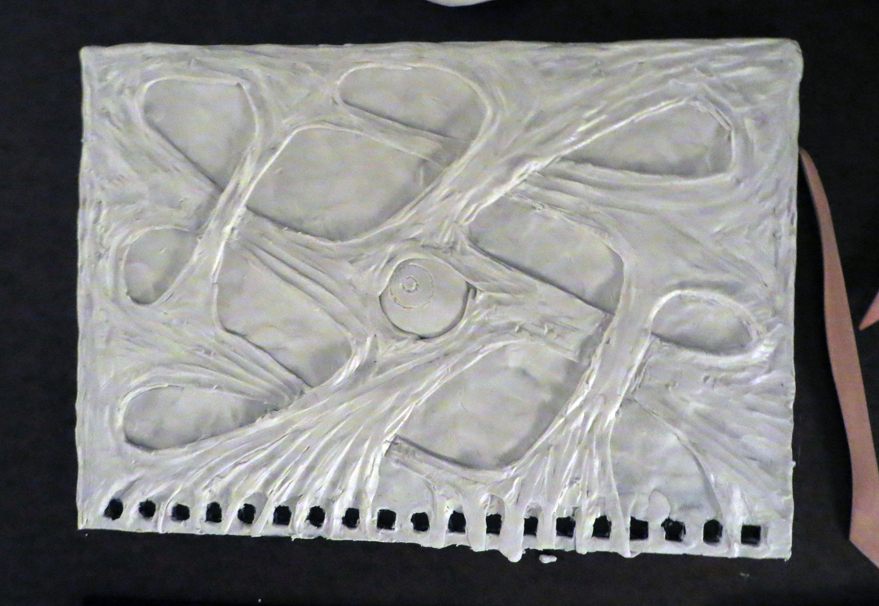
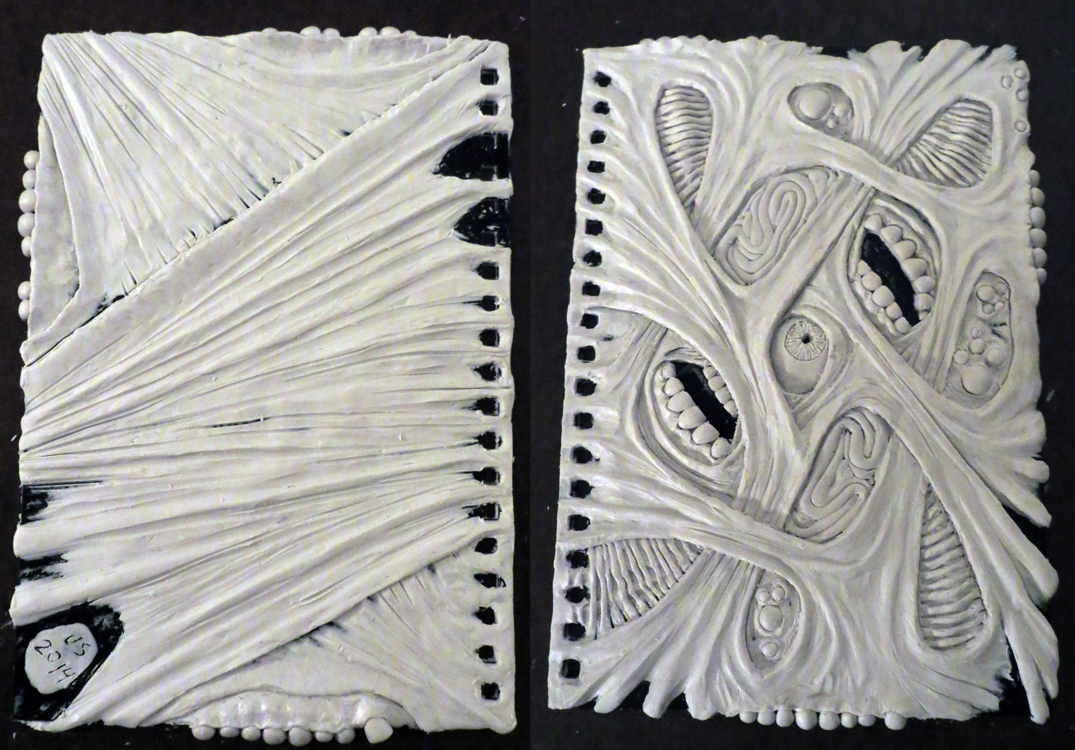
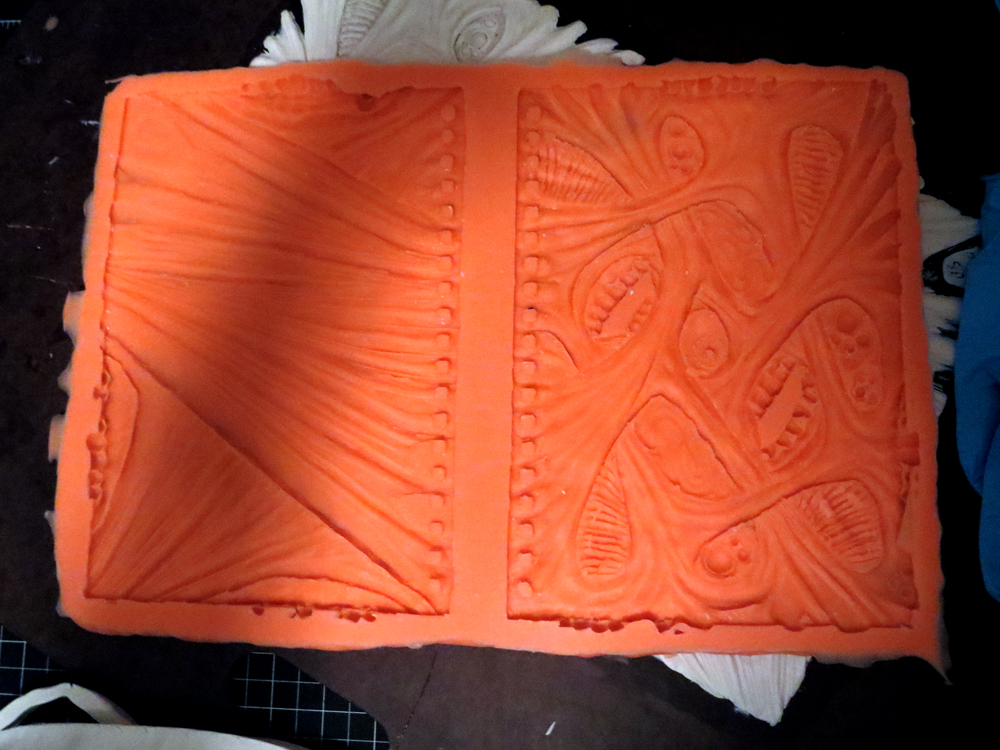
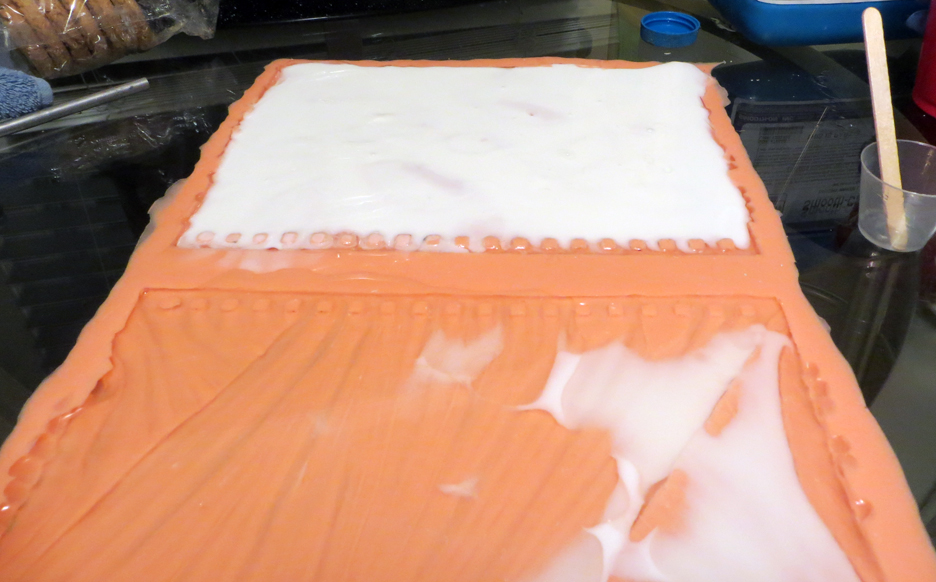
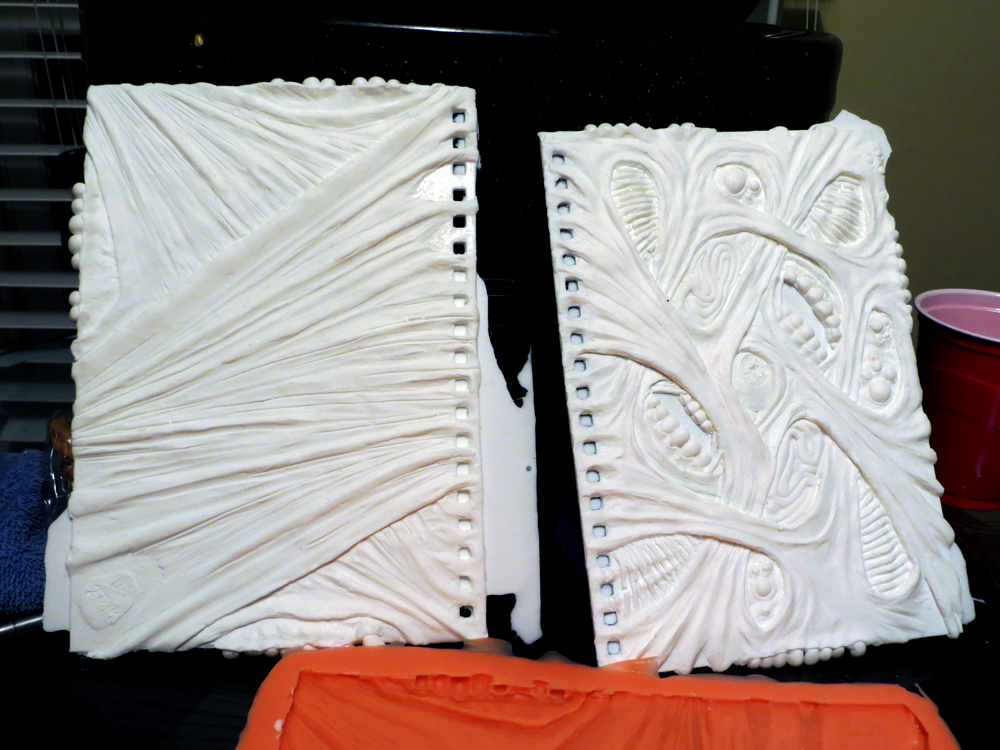
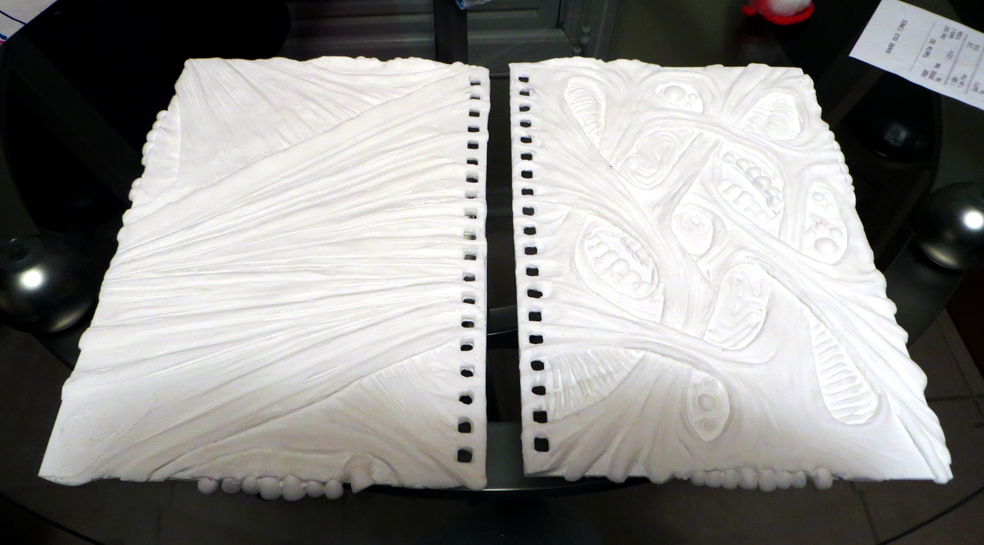
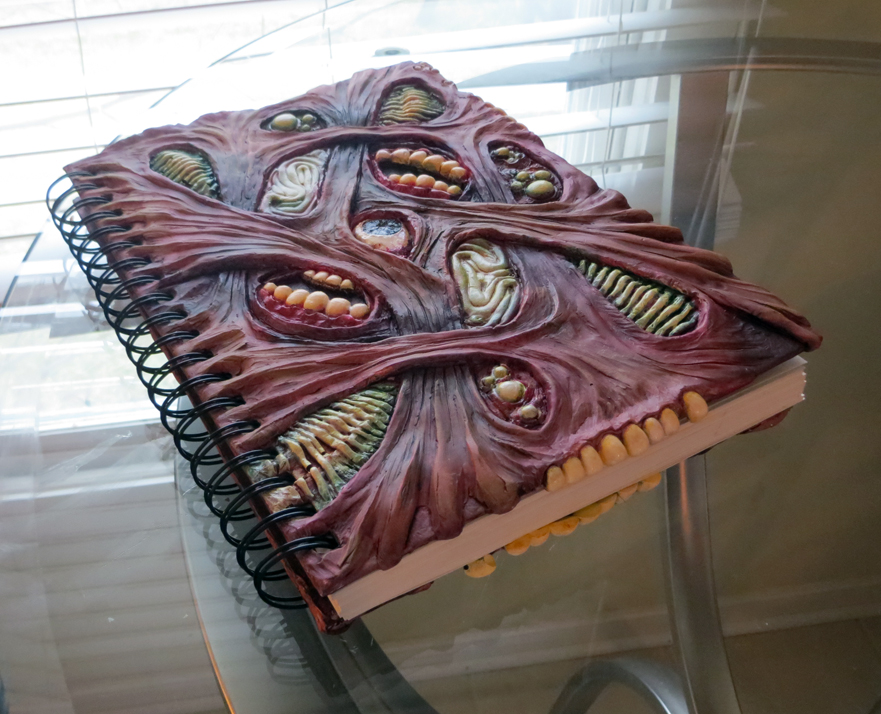
The process: Firstly, I pulled the original cover off the book and sealed it. Next was the sculpting. I used plastalina clay- oil based, and never-hardening. Through trial and error I arrived at my final design. Rachel, from over at Maewyn’s, helped me with the casting process. Once the sculpt was done, it was boxed in with leftover clay, and silicone was poured to make the mold. After that set, we pulled the silicone mold off the sculpt and cleaned out the stuck clay. Next was pouring the resin. It cures much faster than the silicone, and I soon had a new, plastic cover for my book! I had to clean up overflow and edges on the thing. I used a dremel and a drill to clear out the holes for the binding, and a utility knife to cut the overflow on the edges. After that, I sanded down all the edges and sanded the interior sides so it would take paint better. Painting was done with familiar techniques- Thin washes to work dark colors into the crevices, and dry brushing to highlight the peaks.

Once everything was re-assembled I found out just how much heavier the plastic is than the original cardboard. It’s totally worth it, though!

Mar 122013
 

Here’s a round-up of some of the more finished/charming pieces from my 2012 Sketchbook. I find it terribly convenient that I can finish a whole book in about a years time.

Jan 182012
 

My new sketchbook cover has been put together. I wanted to try something new, so I set out to make something that lights up. I had never worked with LEDs or circuits before, except for a high school robot kit, which was all soldering and no real info. I wired up a battery and LED, and decided to use fiber optics to make little points of light rather than have one big light. The whole thing is powered by a coin cell battery that can be changed from inside the cover. To make the lights work, there are two buttons on the cover. Two because I wanted it to be less likely to unintentionally turn on. The rest of the cover was done with my slowly evolving process of hot glue, miscellaneous small objects, joint compound, and acrylic paints. New to the process, which I like a lot, I used gloss medium to give the book a wet appearance.

The biggest problem I’ve run into was that my fibers were too fine. They conduct the light just fine, but their visibility is low. Pushing them into place was a pain, as I had to place each one, one by one, into a template made out of poster board. The other problem was that I had bundled and glued together all the fibers BEFORE doing so. It made it harder to get them into place properly. Next time, they should be put into place first.

Next time, I want to try a different method of lighting. Perhaps see if I can etch into plexi and get that to glow. I need a better way to get a lot of lighting out of a single LED. Perhaps I’ll build a small project in order to try this out.

Jun 052011
 

A selection of drawings from my sketchbook 2009-2011. Most of these are finished/semi finished rather than the hundreds of doodles and thoughts that litter the pages. Enjoy!